Cleaning up is an often-overlooked part of the coffee brewing process. Though a simple stovetop espresso maker like a Moka Pot might seem easy to maintain, knowing how to take care of it will increase its lifespan. Let’s learn how to clean a Moka Pot so that you can brew great-tasting coffee every day.
How often should you clean a Moka Pot?
The Moka Pot is known worldwide as an inexpensive way to make rich espresso-like coffee at home without the expense of espresso machines. While some claim it’s good to accumulate coffee residue in your Moka Pot over time to improve the coffee flavor, this isn’t true. Coffee oils are more likely to lead to a rancid flavor, and coffee grounds can create blockages that cause your Moka Pot to malfunction and even explode (ouch!).
At a minimum, you don’t want to leave coffee inside your Moka Pot after using it. Even if you don’t have time for a thorough cleaning, toss out the old grounds after the Moka Pot cools down and rinse it with water. However, getting your Moka Pot properly cleaned after every use would be best.

How to clean your Moka Pot on a daily basis
Moka Pots usually have either aluminum or stainless steel body. The material yours is produced of will determine the best way to clean your coffee maker. While the manufacturer’s instructions for your specific model could reveal some exceptions, there are general rules for cleaning Moka Pots.
Cleaning aluminum Moka Pot
Bialetti’s original octagonal Moka Pot is made of aluminum. Generally, aluminum models are often cheaper than stainless steel Moka Pots. However, the tradeoff is that you may spend more time cleaning your coffee maker if you go with one of the aluminum models.
Aluminum is susceptible to any abrasive products. It definitely cannot go in the dishwasher because the chemicals in dishwashing liquid may cause corrosion, so washing it by hand is the only option.
It is best to clean your Moka Pot as soon as possible after brewing your coffee.
Follow these steps to clean your aluminum Moka Pot after each use:
- Unscrew the top chamber and discard the coffee grounds into the bin. Avoid dumping them into the sink, as they can clog the drains over time.
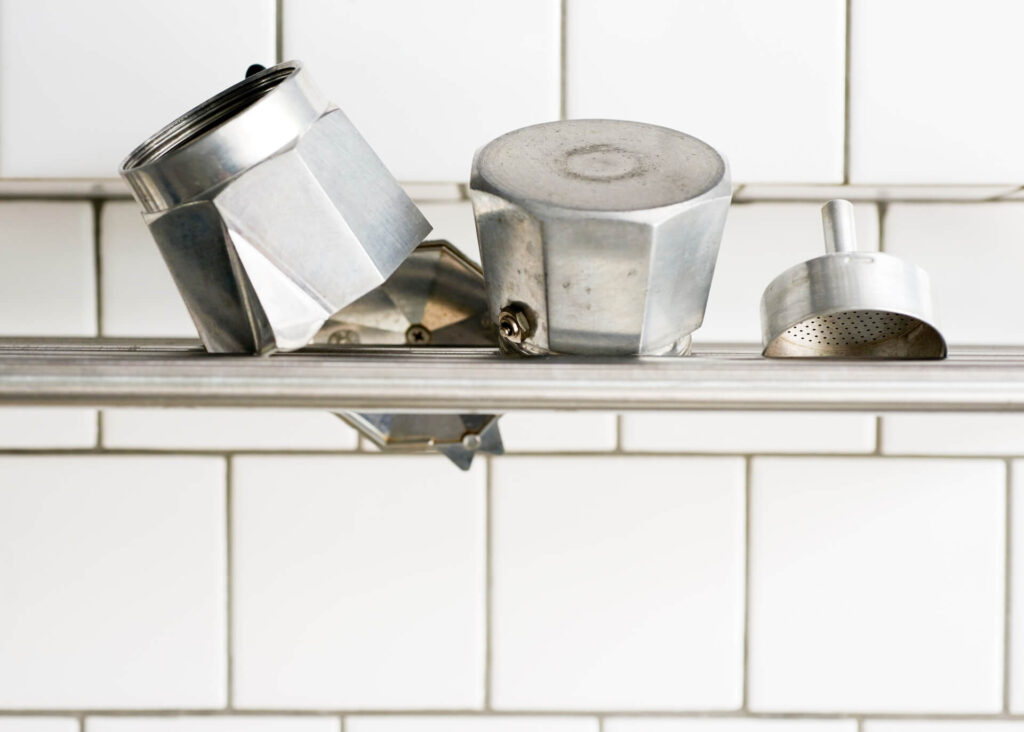
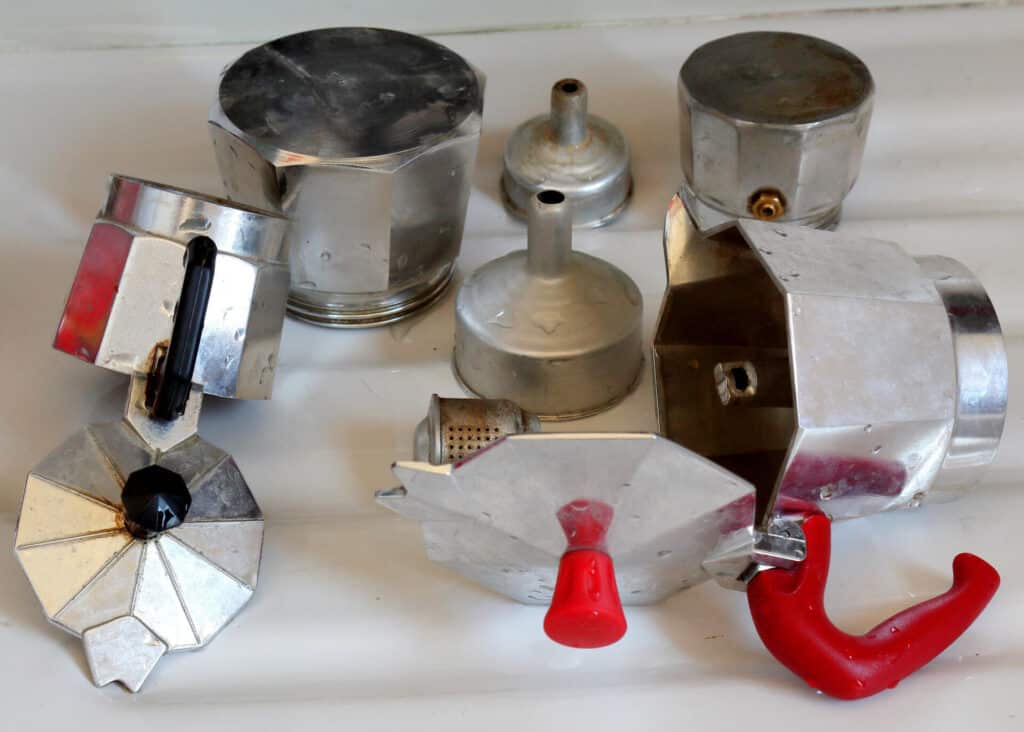
- Remove the rubber gasket and filter plate. If the rubber seal doesn’t come off easily, use a spoon stem to lift it off.
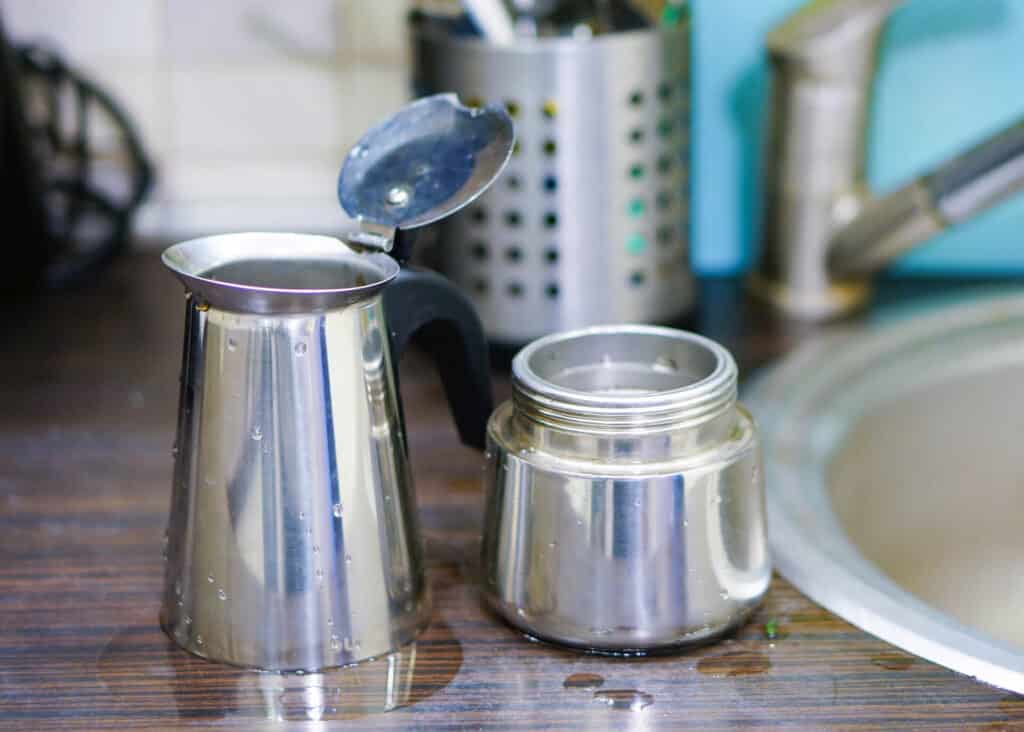
- Place all the parts into a sink and wash them under the running water using the soft side of a sponge. Don’t use the abrasive side; it can scratch your coffee pot.
- Let your Moka Pot air dry, or wipe it with a clean cloth or paper towel. Drying with a towel may reduce the chance of dried water spots on the outer surface of your coffee maker. Make sure your Moka Pot is completely dry before storing it.

Cleaning stainless steel Moka Pot
The big draw of stainless steel Moka Pots is that many are dishwasher-safe. Check the manufacturer’s instructions for your Moka Pot, though — Bialetti recommends handwashing its stainless steel models, including the Bialetti Musa, Bialetti Venus, and Bialetti Kitty. In that case, you’d follow the same manual process described above for washing an aluminum Moka Pot.
You can trust stainless steel not chemically react with other substances as aluminum does. So even if you end up handwashing your stainless steel Moka Pot, you can use baking soda or dish detergents without worrying about oxidation.
If your Moka Pot instructions tell you it is dishwasher safe, it makes your job much easier. You’ll need to disassemble the Moka Pot and discard the used coffee grounds in your trash or compost before putting the coffee maker into the dishwasher.
Put the upper chamber and the lower chamber of the Moka Pot upside down on the top rack of the dishwasher to avoid unwanted water accumulation inside those parts. If your Moka Pot’s coffee filter is small enough, put it in your dishwasher’s silverware holder. Otherwise, you can place it on the top rack with the other coffee pot pieces.

How to deep clean your Moka Pot
Is it taking longer than usual for your Moka Pot to brew coffee? Does your coffee taste burnt or watery? If you notice a decline in performance, these might be the cues that it is time to deep clean it.
When you use a Moka Pot regularly, natural coffee oils might build inside it, especially in parts you can’t reach with a sponge, such as the brewing column. So occasionally, you can deep clean your Moka Pot using water and vinegar solution.
Vinegar will help to dissolve the oily residue. It will also remove limescale and salts that tend to accumulate at the bottom of the water chamber.
Descaling your coffee equipment from time to time to remove calcium buildup is a good idea, especially if you live in an area known for hard water. So even if your Moka Pot works fine, you’ll know you need to descale it when you see the buildup of white sediments.
To deep clean your Moka Pot, you can soak all its dissembled parts in a water and vinegar solution for 30-40 minutes and then rinse and dry them. However, a more thorough method of cleaning and descaling a Moka Pot exists.

Follow these steps to deep clean your Moka Pot:
- Add one part of vinegar and two parts of water to the lower chamber of your Moka Pot. Make sure the liquid does not cover the pressure valve.
- Put the filter basket in the Moka Pot, but don’t add any coffee. Screw on the upper chamber.
- Heat the Moka Pot on a stovetop using low heat like you usually do when brewing coffee. The pressure will push the vinegar solution into the upper chamber, cleaning out any remaining blockages in your Moka Pot on its way. It will also remove all the smells from the Moka Pot.
- Let your Moka Pot cool, and then rinse it under running water to remove any remaining vinegar. If you are concerned about the vinegar taste, you can run another water-only brew cycle.
- Dry your Moka Pot with a tissue or towel, or let it air dry before storing it.
You can also deep clean your Moka Pot using a baking soda (also known as sodium bicarbonate) and water solution.

Tips to make your Moka Pot last longer
The best part of stovetop Moka Pots is that they don’t have electronic components that can malfunction. The basic stovetop espresso makers are simple and low-tech. However, handling them well is essential, so you don’t ruin or damage your favorite coffee gadget.
Here are some tips that will make your Moka Pot last longer:
- Use your Moka Pot only for brewing coffee. Adding tea leaves to the filter basket might work. However, avoid putting chocolate powder or milk inside your Moka Pot. Though you might be tempted to make a latte or hot chocolate by pouring milk into your Moka Pot, the sugars and fats in milk are likely to make your Moka Pot clogged. Only add milk to your coffee after it’s brewed and poured into your cup!
- Ensure the Moka Pot is clean and fully dry before storing it. It is crucial if you are not planning to use it for a while. Any moisture trapped inside the Moka Pot can lead to mildew accumulation. It can clog the filter and result in your coffee maker leaking the next time you brew it.
- Moka Pots can brew coffee over a campfire, making them popular for outdoor activities. However, the smoke and soot of fire can dirty the exterior surface of your Moka Pot, dimming its shine. However, you can prevent this to some extent. Wrap a piece of aluminum foil around your Moka Pot’s bottom before putting it on a camping stove.
- While the metal parts of a Moka Pot are pretty durable, the rubber seal between the two chambers can wear out over time, even with proper care. Some manufacturers, such as Bialetti, sell spare parts, including replacement gaskets. The funnel-like filter basket is also replaceable. Instead of buying a new coffee maker, you can get your money’s worth by getting replacement parts.
A clean coffee pot will help you prepare a better quality brew that tastes good and is more enjoyable. Taking care of your Moka Pot isn’t difficult once you know the basics, and it will serve you excellent coffee for years to come.
