You have your pour-over brewer and some excellent coffee beans, and you are about to prepare your coffee. But then you realize you don’t have a scale handy.
You might be camping, visiting a friend, or maybe your coffee scale broke. How to make pour-over coffee without a scale?
The good news is that you can still brew coffee if you gauge the proportion of water and coffee grounds properly.
Read on to learn the measurements and the steps to brew a delicious pour-over coffee, even without a scale.
Measuring coffee and water: the Golden Ratio
So, how much coffee should you use if you don’t have an accurate scale? The answer lies in the coffee-to-water ratio. Whether or not you realize it, even with a coffee scale, you always measure these two ingredients at a certain balanced ratio.
Coffee taste is very personal, and every coffee lover has their preferred measurements. That said, there is a generally accepted sweet spot for good coffee called the Golden Ratio.
The recommended standard ratio in grams for pour-over brewing is 1:15 or 1:16.
The Golden Ratio in practical terms
Knowing the ideal ratio alone won’t help you. You still need to figure out how to turn the ratio into practical measurements. You need some basic math (don’t worry, this won’t be difficult).
Here’s how to determine the measurements for one regular cup of coffee:
- The average American coffee cup is 8 fl oz — or 225 ml. Water weighs one gram per milliliter, so you need 225 grams.
- According to the 1:15 ratio, we must divide the weight of the water by 15. The result shows we need 15 grams of coffee.
- A U.S. tablespoon holds 4-7 grams of whole coffee beans. For the sake of simplicity, let’s round that to 5 grams. Remember to always measure coffee with level spoonfuls, not heaping.
- You need three level tablespoons of beans for one cup of Joe.
Conversely, if you want to know how much water you need for a certain amount of coffee, multiply the weight of the beans by 15 (or your ratio of choice). See, easy-peasy!

Why follow standard ratios?
This standard ratio helps you measure coffee to balance its acids and bitter flavors and get enough of the sweet sugars. Too little coffee results in a weak and bitter taste, while too much coffee will make gets you an unpalatably sour taste.
Naturally, this isn’t a rule set in stone. Different ratios result in different flavor profiles and recipes might call for coffee of different strengths. You should experiment and use less or more water and coffee based on your preferences.
If the coffee is too strong, try using only two tablespoons of coffee per serving. On the other hand, you can bump the recipe to 3.5 or even 4 tablespoons if it’s too watery for your taste.
How to use ratios when measuring volume
Let’s say you are at a campground and didn’t pack a graded measuring cup or spoon. How are you supposed to figure out the ratios, then?
If you know how much coffee your camping coffee grinder holds, you can count on that. However, if you use a pre-ground coffee, it may be challenging to get the coffee amount right.
You can approximate all the ingredients as long as you know how. The process won’t be scientifically accurate, but it should be good enough. Here are some tips for ingredient measurement for your pour-over.
Measuring coffee without a measuring spoon
If you are a seasoned home coffee brewer or even a professional barista, you may be able to approximate a tablespoon measurement by eye. Not everyone has such a sharp eye, though. Luckily there are many options to get the right amount of coffee.
If you have a tablespoon used for eating or another similarly sized utensil handy, you can use it for measuring coffee. An average dinner spoon roughly equals 0.5 fl oz/15 ml — the same as a measuring spoon.
Alternatively, you can use your hand if you don’t have any measuring equipment. A tablespoon is roughly equal in volume to your thumb up to the first joint, which is more or less the volume of your cupped palm. You can check it yourself — cup your hand and place your thumb in it!
You could also count your beans. Depending on the bean size and roast level, the weight of one coffee bean can range between 0.12 and 0.15 grams, but let’s round that to 0.13 grams. We then see we need about 115 beans per serving at a 1:15 ratio.

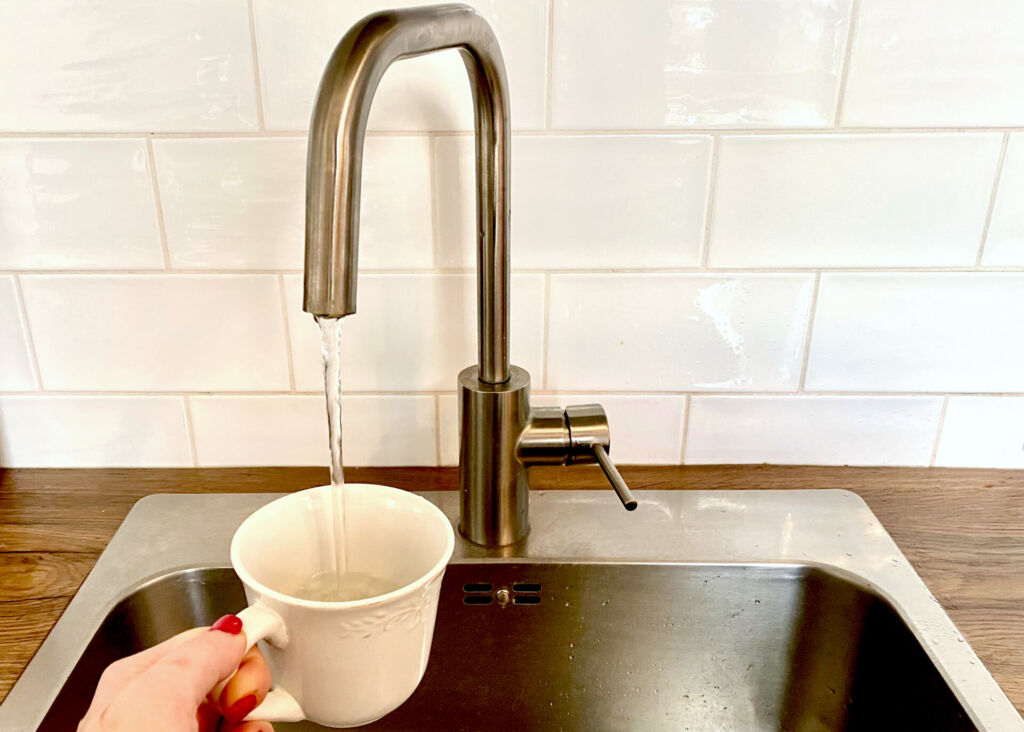
Measuring water without a measuring cup
Measuring the amount of water to boil for pour-over coffee drippers can be very easy, even without a scale. The standard single-serving mug holds about 12 fl oz (355 ml). That said, checking the volume of your favorite travel mug before you leave is a good idea.
A pour-over carafe, a simple electric kettle, or a plastic bottle can also be handy for measurement. For example, if you know your pot for heating water holds 32 oz, a quarter of it will equal one cup. Memorize the volumes of your brewing vessels, just in case. Some of them may even be graded for extra convenience.
As a last resort, you can eyeball how much water to use. For (an extremely rough) reference, the average human fist is approximately equal in volume to a single cup. This method is not precise, but it may do in a caffeine emergency.
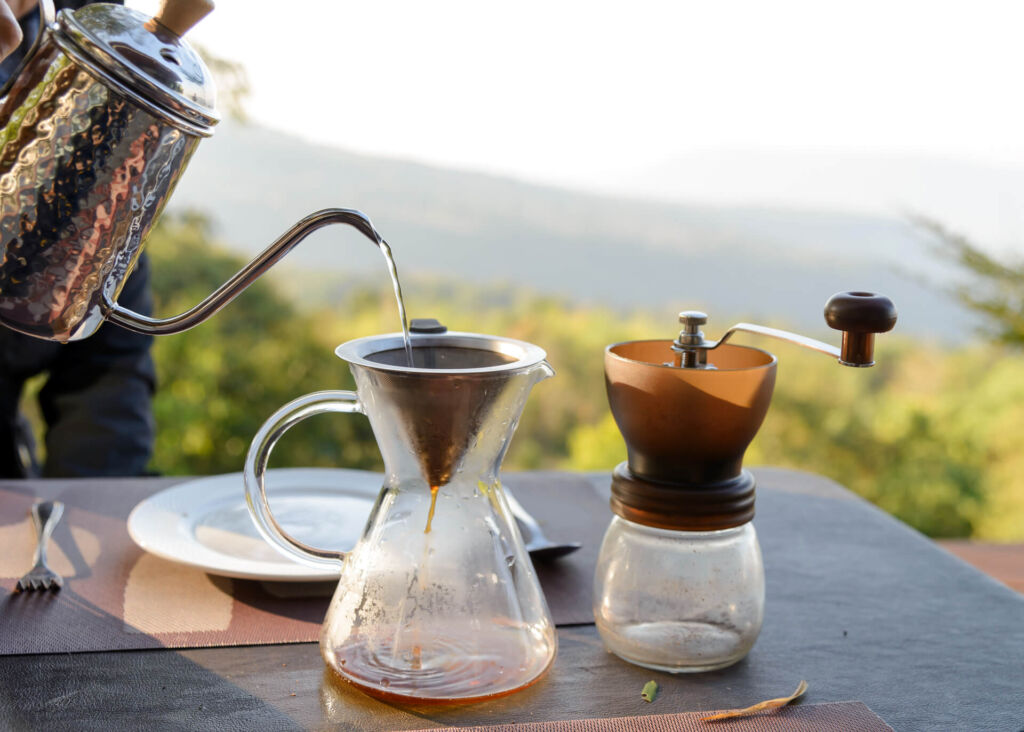
How to make pour-over coffee without a scale: a step-by-step guide
You can brew a steaming pour-over coffee without a coffee scale to weigh your ingredients. It won’t be as easy, but there’s a way to do it by approximating the water and coffee measurements.
Here are the basics for preparing two cups of pour-over coffee, even without measuring tools.
Simple Pour-Over Coffee Recipe
Follow this method to brew a balanced cup with a two-cup pour-over coffee maker, like a Hario V60 02 or Kalita Wave 155. Double or triple the ingredients for brewers of larger sizes, like a Chemex or Bodum. Whether at home or at a campground, you'll make a great brew in no time!
Ingredients
- 6 level tablespoons (1 oz/30 g) fresh coffee beans
- 17 fl oz (500ml) filtered or spring water
Instructions
- Grind coffee beans to a medium-coarse grind, similar to the consistency of sea salt. You can use pre-ground coffee, but whole-bean coffee results in more flavor.
- Place a paper filter into the pour-over coffee dripper and wet it with water. Discard the water from the coffee server.
- Pour the ground coffee into the dripper. Shake it lightly to distribute the grinds evenly, allowing for the best extraction of flavors.
- Heat the water using a kettle or a pot. You can use any tool, but a gooseneck kettle gives you the most control when pouring.
- The ideal water temperature for brewing pour-over coffee is around 200°F (93-96°C). If you don't have a thermometer, allow the water to boil, remove it from the heat, and let it rest for about 30 seconds. Count the passage of time, or use a timer to get the right temperature.
- Pour a small amount of hot water over the coffee first to allow it to degas before brewing. The water should wet the grinds but not drip through the filter. Let the water sit for 30-40 seconds. Use this time to appreciate the aroma wafting from the coffee.
- Slowly pour water onto the coffee to fill the dripper. Move the kettle in a circular motion from the outside edge of the dripper and proceed toward the center. This technique ensures all of the coffee gets soaked.
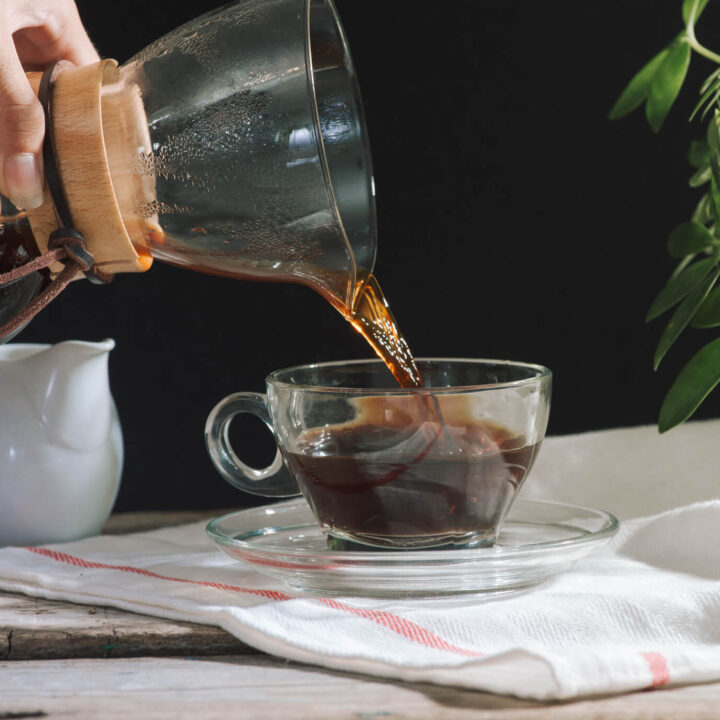
- Wait for the water to drip through the filter. Continue the pouring process until you've used the remaining water to fill your coffee server. The brewing process should take around four minutes.
- Remove the dripper and swirl the server before pouring the coffee into cups.
Recommended Products
As an Amazon Associate and member of other affiliate programs, I earn from qualifying purchases.


Limitations of brewing pour-over coffee without a scale
Although making good or even great coffee without a scale is possible, you must understand that your beverage will never come out perfect. Precision is essential during brewing, and even careful estimates will not provide exact and consistent results. There’s always a possibility that you use too much or little coffee with no measuring tools.
Here are some factors that could throw your ratios off and produce a lousy coffee you will not enjoy.
Coffee origin
Depending on the origin of the coffee, bean size and weight can vary significantly. One tablespoon of beans from one region may weigh even two grams more or less than elsewhere. As such, it can be difficult to control the amount of coffee you use.
Roast level
Moisture evaporates from fresh coffee during roasting, affecting its weight. As a result, light or medium roasts are lighter than dark coffee. Double-check the roasting level of your coffee before brewing.
Ground vs. whole beans
When you start brewing coffee, it can make a world of difference whether you measure your coffee beans before or after you grind them. Most recommendations state that you should measure before grinding when making coffee.
Grind size
How fine you’ve ground your coffee doesn’t only affect its surface area for brewing — it may also impact its volume. The difference is generally not huge, but it can add up the more coffee you make. This is why a good coffee grinder is so important.
Because of all these uncertainties, I strongly recommend that you always use a coffee scale to ensure the quality of your pour-over coffee is up to your tastes. Precise measurements are essential to making a perfect coffee, and using a high-quality coffee scale is the best method to ensure accuracy.
But if you need a caffeine boost and can’t find a scale, you are now familiar with the popular ratios of how much coffee to use. Experimenting will help you find a way to get a satisfying cup of coffee when you need your fix.