If you love coffee, you already know that the best-tasting cup is made from freshly ground beans, and a burr grinder is the ultimate way to make this happen. However, sometimes you might not have access to the right tools. Whether you forgot to pack your coffee gadgets on a trip or your coffee mill is on the fritz, you need to know how to grind coffee beans without a grinder. It’s time to get creative!
1. Blender
Using a blender to grind coffee beans may seem obvious if you don’t have a coffee grinder. A blender has rotating blades similar to a blade coffee grinder, right? Well, not quite.
It will be almost impossible to grind coffee beans with a consistent texture using a blender. While this can be a problem to a lesser extent with blade coffee grinders, it’s really a problem with a blender not designed for grinding coffee beans.
If your blender has a “grind” setting, that’s your best place to start. Try a pulse or manual setting if the grind setting isn’t an option on your device.
Keep in mind that there are different types of blenders. These instructions are intended for use with an enclosed blender that prevents the contents from spraying out. Using an immersion blender to grind coffee beans will likely make your coffee grounds fly everywhere. But if you are determined to give it a go anyway, try to shield the top of the container with your hand while blending.
Here are the steps to grind coffee beans with a blender:
- Begin by pouring half a cup of whole beans into your blender. You may ultimately need more but start with a small amount to see how your blender performs.
- Using a grind, pulse, or manual setting, grind the beans in 3-second intervals. You don’t want to generate too much heat, cooking the coffee prematurely. Grind the beans in 3-second intervals for no more than 30 seconds total.
- Do this on a flat surface, and tilt the blender slightly from side to side for a consistent grind.
Grinding coffee beans in 3-second intervals will allow you to control your coffee consistency. However, if you are looking for an espresso-type fine grind, you will need to utilize the full 30 seconds of grinding.
The texture of your grind is the backbone of your cup of coffee. If you blend the beans superfine (think powdered sugar), you’ll have a hollow, bitter-tasting coffee. This will cause over-extraction, meaning you have extracted too much of the soluble flavors from the coffee. On the other hand, if you leave your coffee grounds too coarse, the coffee is likely to be under-extracted and taste sour.
10 to 15 seconds of blending will most likely do the trick for a more coarse grind. For a medium-fine or medium grind, make sure to examine your beans regularly. It may take a few practice rounds to achieve the most consistent grind.
2. Food processor
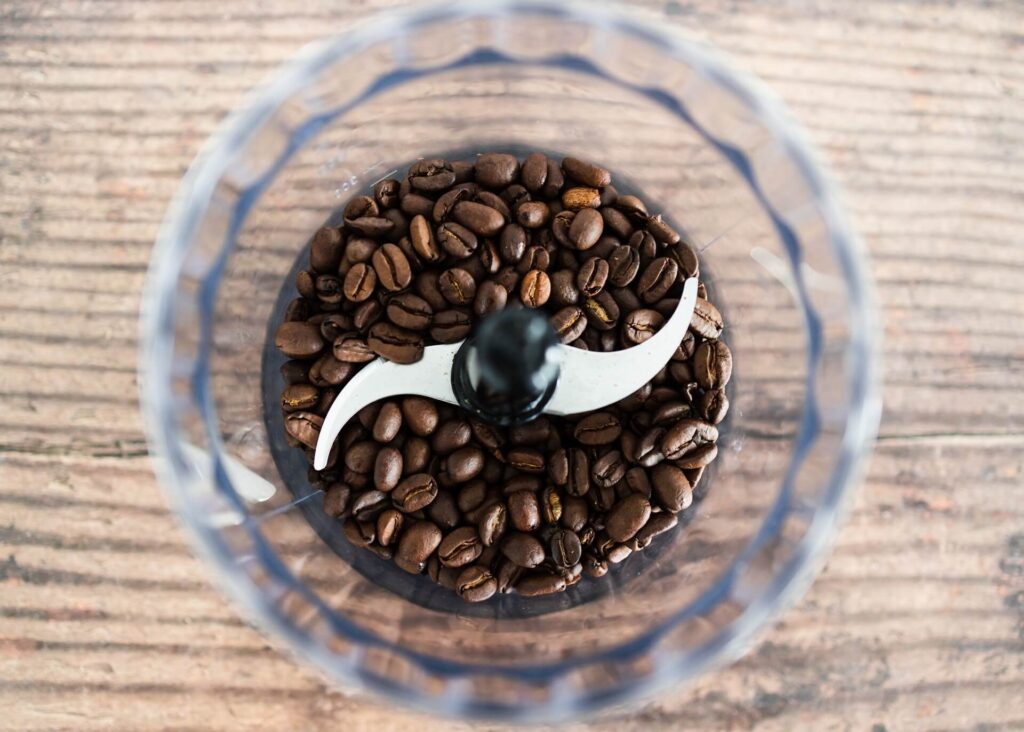
Using a food processor to grind your coffee beans instead of a proper coffee grinder will give a similar result to a blender. The main difference between a food processor and a blender is that a blender is designed to blend wet and dry ingredients. Food processors are more geared toward working with dry ingredients. They have more features and can perform different food preparation tasks. In addition, they can be customized with various blade attachments.
When you have a choice of a blender and a food processor, you might be better off with the food processor. However, just like a blender, a food processor can produce heat as it grinds. Therefore, you will need to use it carefully to minimize the unwanted cooking of your coffee beans.
Here are the steps for grinding coffee beans with a food processor:
- Pour 1 cup of coffee beans into your food processor container.
- Using a pulse setting, grind coffee beans in short bursts of 3-second intervals.
- Tilt the food processor from side to side, dispersing beans for optimal grind consistency.
- Grind the beans for no more than 30 seconds or until your coffee beans have been ground to the desired coarseness.
Grinding coffee beans in a food processor may take some getting used to. Still, you can achieve similar results to a coffee grinder. For a coarse grind, around 15 seconds will be your sweet spot. For a finer grind, utilize the entire 30-second process. 20 to 25 seconds will be your goal for a medium-fine grind or medium grind. Before you know it, your food processor will help fill the kitchen with a beautiful morning coffee aroma.
3. Mortar and pestle
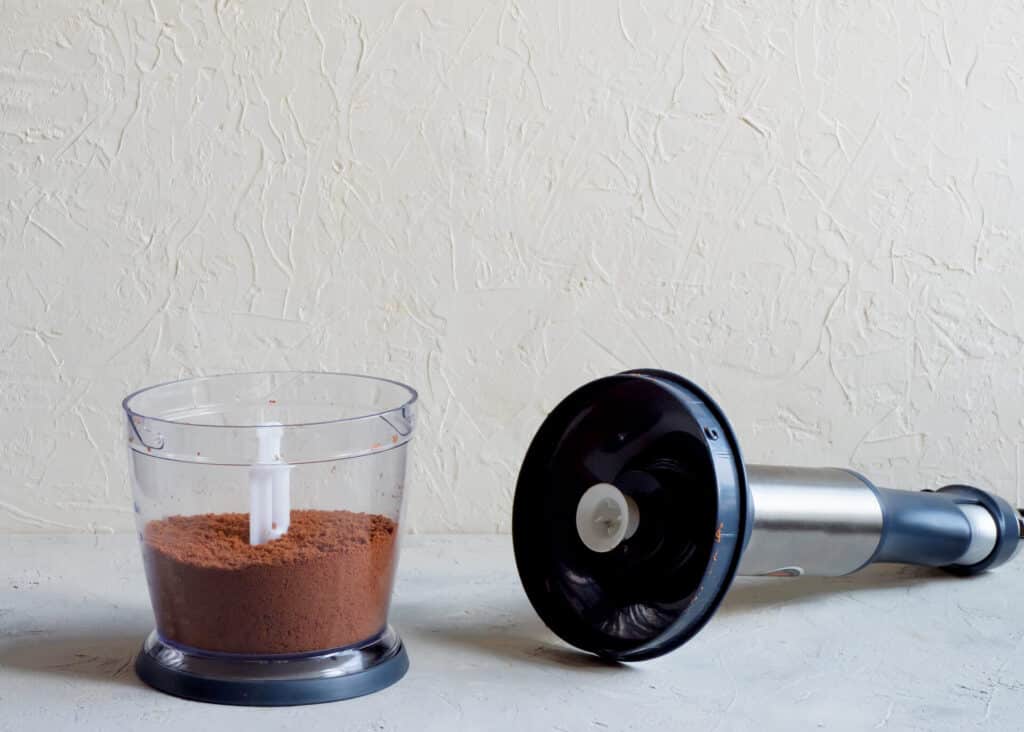
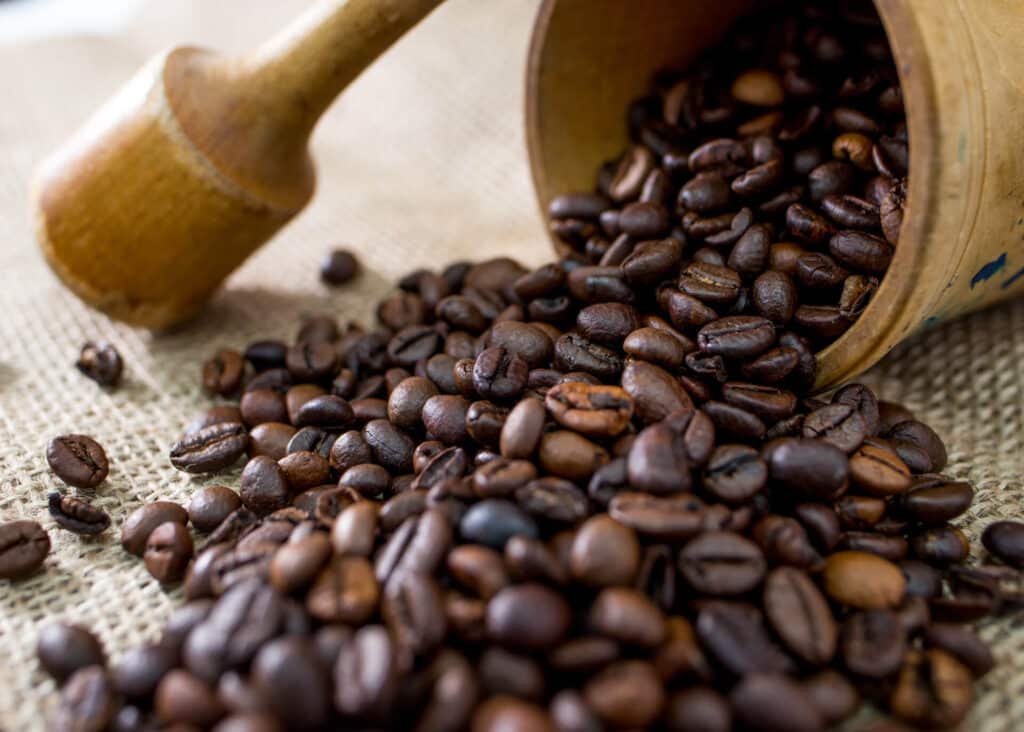
A mortar and pestle set is a beautiful tool that dates back to the Stone Age. People who like cooking often own one and use it to grind spices. This primitive tool will work where you don’t have access to either a coffee grinder or electricity.
The mortar and pestle set is simple at its finest, and it’s a surprisingly easy way to make ground coffee. However, getting a fine powder is difficult, so you may want to be realistic about the coffee brewing method you are planning to use. The coarsely crushed beans are best suited for a French press or percolator rather than an espresso machine.
Here’s how to grind coffee with a mortar and pestle:
- Fill your mortar to a quarter to avoid spilling any coffee beans.
- Hold the pestle with your dominant hand while holding the mortar with your non-dominant hand.
- In a swirling motion, press the pestle firmly down on the coffee beans, breaking them up, then stirring them around the edges in a rolling motion while applying pressure.
- Grind beans until you achieve the desired consistency.
- Remove ground coffee and repeat until you have made the amount needed for your coffee brewing method.
Admittedly, you’ll need to work harder and grind coffee beans longer for a finer consistency. This method is time-consuming and requires a lot of elbow grease.
4. Garlic press
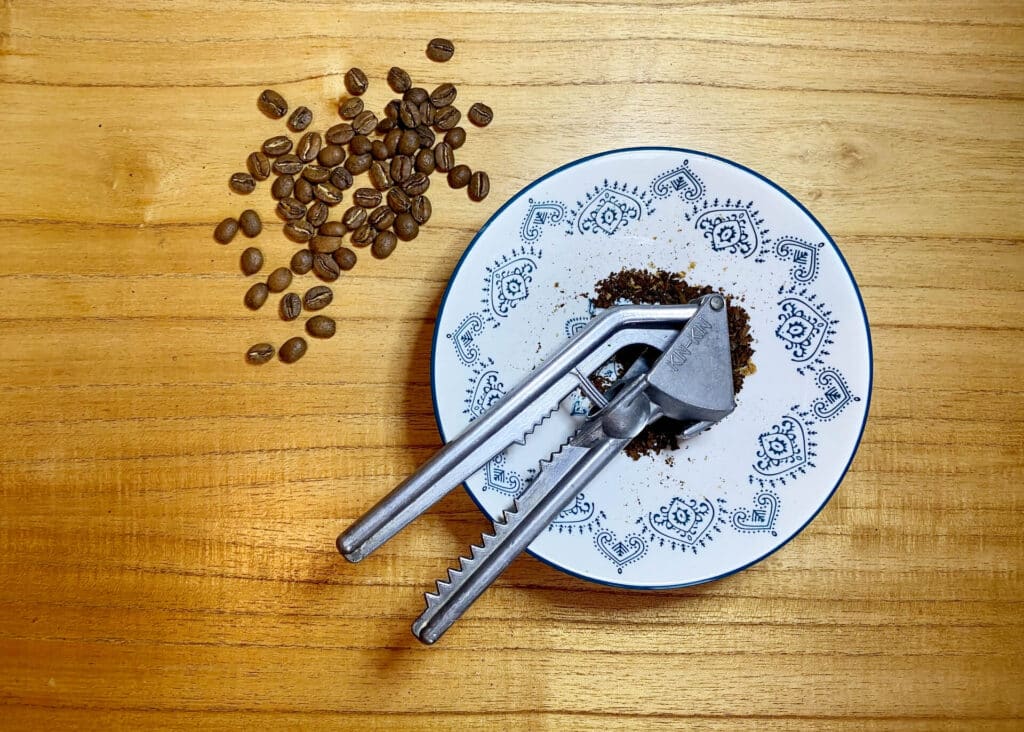
Can a garlic press crush coffee beans? You may be surprised to discover that this simple kitchen tool can be used for more than just smashing garlic.
One downside to using a garlic press to grind coffee is that the holes in most garlic presses are large. As a result, you won’t be able to achieve anything finer than a medium grind, as coffee grinds will simply fall out through the holes. However, it can be your go-to option if you don’t have any other tools available, and a coarser grind is suitable for your brewing method.
Follow these steps to grind coffee beans with a garlic press:
- Get a bowl or a small tray ready to catch the ground coffee beans.
- Place small amounts of coffee beans in your garlic press, about two tablespoons at a time.
- Firmly squeeze the press until all the coffee beans have passed through.
- Repeat this process until you have your desired consistency.
This method has better grind consistency than a blade grinder. However, the grounds are always coarse. As long as you use a French press or another brewing method that works well with a coarse grind, you can grind coffee beans using a garlic press.
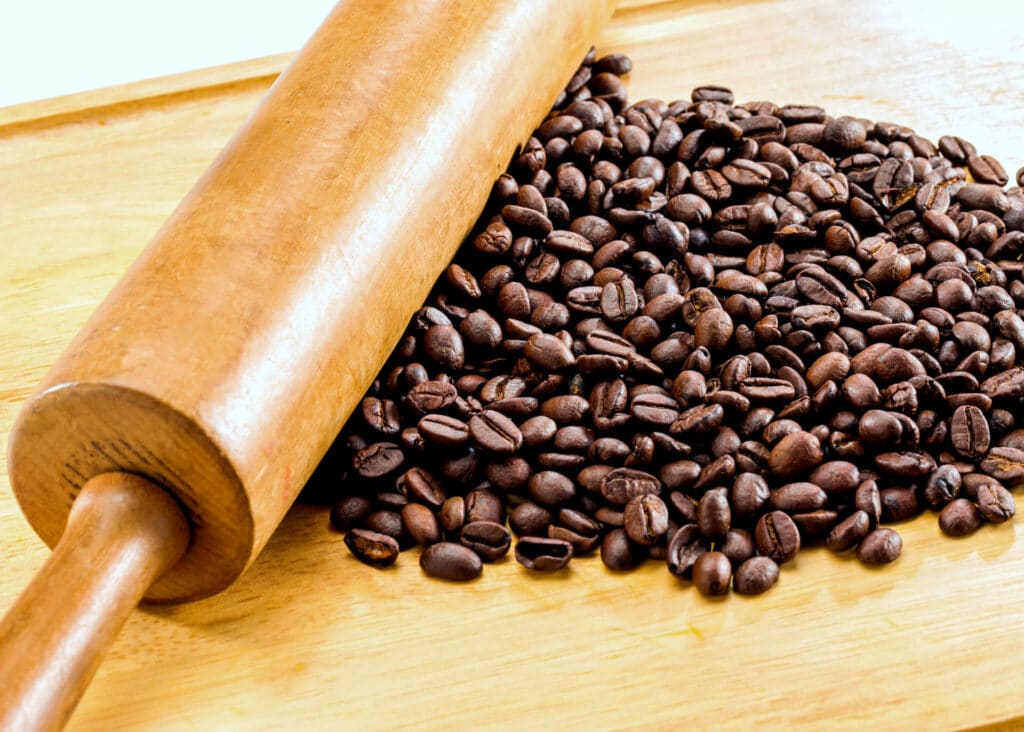
5. Rolling pin
Grinding whole coffee beans with a rolling pin is not likely to produce a consistent or fine grind, but it will work when you don’t have many options. Drip coffee lovers can utilize this method to produce a medium-coarse grind.
Grinding coffee beans with a rolling pin can get messy. It’s best to place your coffee beans in a zip lock bag before grinding. It will prevent the ground coffee from spreading across your kitchen counter.
Here are the steps for grinding coffee with a rolling pin:
- Load up a plastic bag with whole bean coffee. Make sure all the air is out.
- Put the bag on a large cutting board or on a hard flat surface. Begin to crush the coffee beans with a rolling pin, like you’re using a meat tenderizer on steak.
- Next, apply gentle force with your rolling pin and roll out the coffee beans across the cutting board as evenly as possible, like you were spreading out pizza dough.
- Continue this process. It will take some elbow grease to grind coffee to desired consistency.
- Shake the bag often for even distribution of grinding.
- Repeat the process until you reach the preferred consistency.
Using a rolling pin to grind coffee beans without a grinder is not complicated. Many coffee drinkers have been forced to grind beans in this manner for one reason or another. As a result, you can expect to make medium-fine grind coffee with a bit of extra muscle!
6. Mallet or hammer
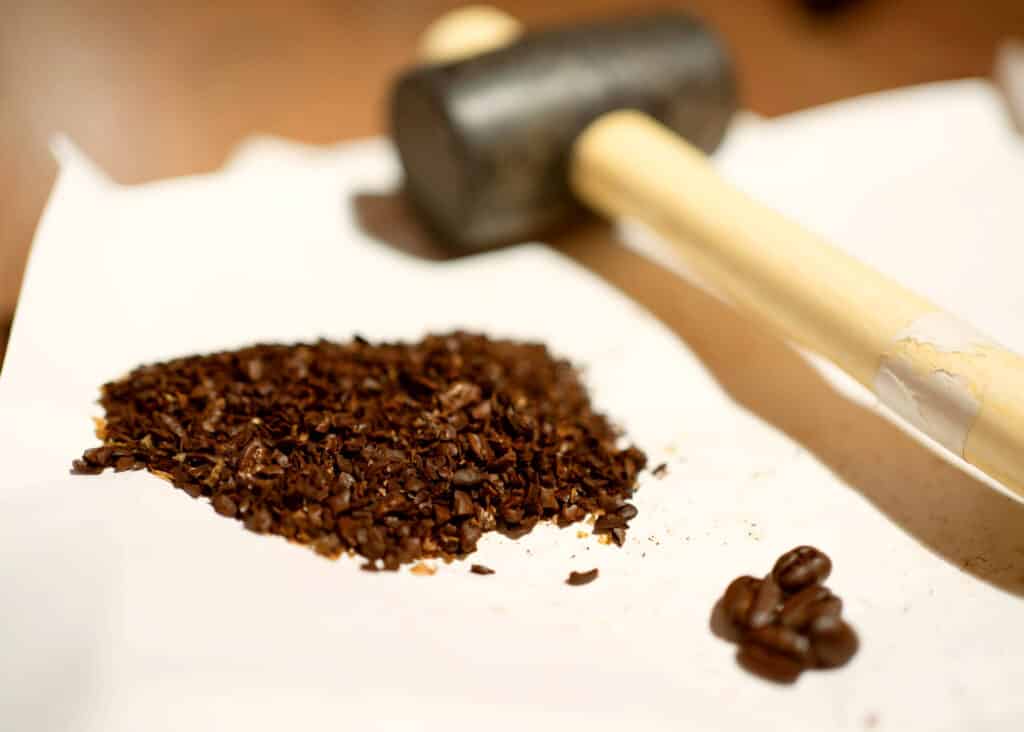
Crushing coffee beans with a mallet or hammer, like a meat tenderizer, seems a little on the insane side, but when push comes to shove, you can make freshly ground coffee this way. While it may not be as efficient as a conical burr grinder, those with patience and a bit of a wild nature may even find smashing beans soothing.
Here are the steps for grinding coffee beans with a mallet or hammer:
- You will want to place your beans in a thick plastic bag because you will be creating a lot of friction. Alternatively, you can wrap them in thicker paper, making a parcel resembling an envelope.
- Place your bag or paper parcel with coffee beans flat on a large cutting board.
- Don’t attempt to work the beans like you are hammering a nail. Firmly press the hammer or mallet down to crush the beans.
- Spread coffee grounds out and continue until you reach the desired grind size.
This grinding process is very similar to the rolling pin. However, the hammer method is a more focused approach where the rolling pin will be a smooth spread. As a result, you will be working in smaller areas of coffee at a time.
The tool you are using here doesn’t have to be a hammer or mallet. It could even be the bottom of a wine bottle. Anything with a hard, smooth surface will work as your new portable coffee grinder. While using a hammer is not likely to do a great job on fine grinds, this hack will produce a cup of coffee for the pour-over method.
7. Big knife
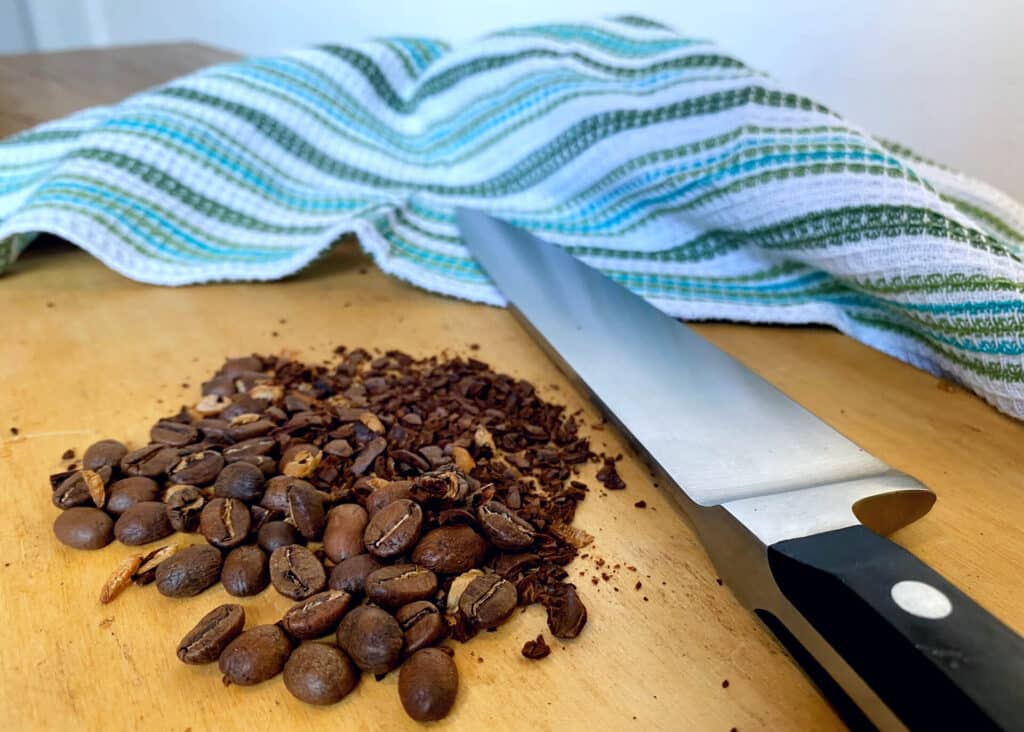
Using a big knife to make ground coffee is not as crazy as it sounds. It’s a variation on the hammer method, where you press down on the beans with the surface of the blade. Ideally, use a butcher knife, but if you don’t have one, a large chef knife will do the trick.
Here’s how to grind coffee beans with a large knife:
- Place coffee beans on a cutting board. It is best to use a big cutting board that gives you a lot of space.
- Place your butcher’s knife flat on top of the coffee beans. Drape a kitchen towel over the knife to reduce mess and keep the resulting coffee grounds corralled as much as possible.
- Press down with the palm of your hand on the flat surface of the knife blade, cracking the beans.
- Continue pressing down on the knife to make the grind finer, pulling the knife blade slightly toward you.
Big knives, of course, have their dangers, so this might not be the best option if you are anxious about hurting yourself. However, when you are comfortable working with a knife, it may produce a finer grind than other alternative ways to grind coffee beans.
8. Cooking pot
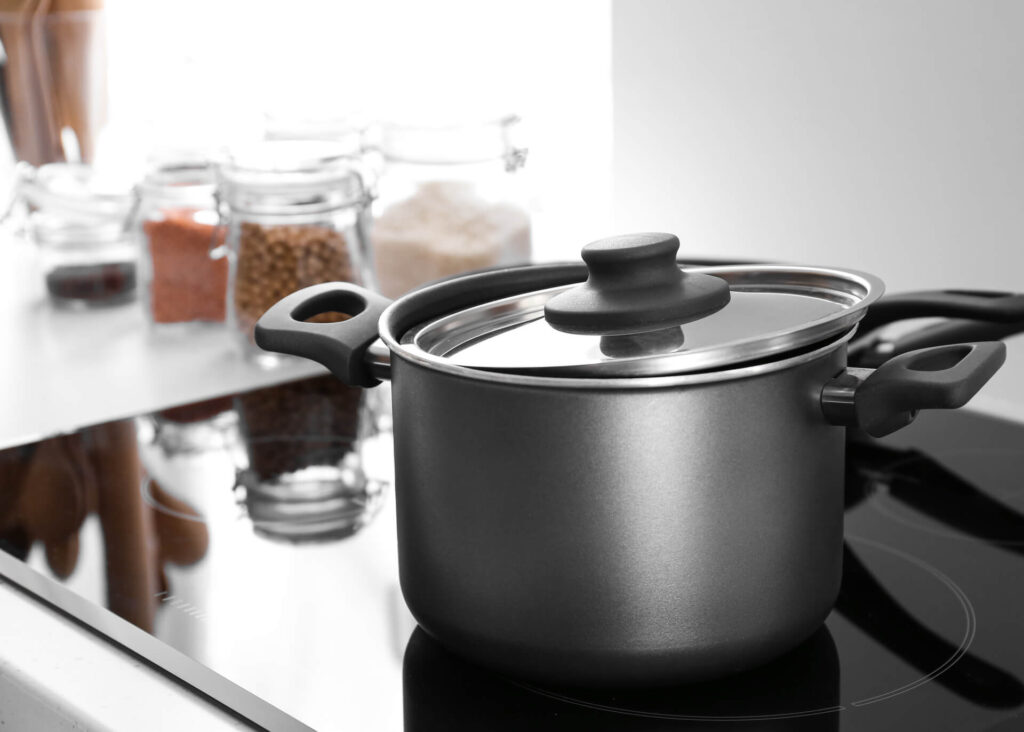
Using a cooking pot as a manual grinder can be a time saver when you need to grind your coffee beans. Although it follows the same principle of using a rolling pin or hammer to grind beans, a deep cooking pot will leverage you more than the other grinding methods. Instead of rolling or hammering, you’ll be crushing the coffee beans by pressing them.
Here are the steps for grinding coffee beans with a cooking pot:
- Place the desired amount of coffee beans in a zip-lock plastic bag.
- Spread out coffee beans in the bag flat on a cutting board.
- Grabbing both handles of the deep cooking pot, press down on the coffee beans, alternating pressure from one hand to the other.
- Shake the bag for even grind, and then re-spread the beans on the cutting board.
- Continue until your coffee grounds reach optimum consistency.
Using a cooking pot to grind coffee beans might be the fastest manual option. The cooking pot method will generally be less physically demanding. The pot’s surface area makes this grinding method a good choice for grinding in bulk. With the larger pot size, you will be able to grind more coffee beans at once, but keep in mind that the more beans you use, the more work you’ll have to do. This hack will be a good alternative for those who don’t want to roll or hammer the beans.
9. Have the beans ground for you
Taking your beans to get ground for you isn’t a proper coffee grinding hack, but it does work if you are desperate and crave freshly ground coffee.
Many coffee shops will grind beans for you, especially if you bought the beans there. Check with your favorite coffee shop, whether a coffee industry giant like Starbucks or a specialty coffee roaster, what their policies are. Here are a few things to ask about:
- Do they have any restrictions on what brand of coffee you bring in for grinding?
- Can they grind beans to the consistency you want?
- Do they have restrictions on using flavored coffee beans in their grinder?
- Alternately, if you hate flavored coffee beans, do they let anyone else use them in their grinder?
- Do they require that the bag of coffee beans is sealed when you bring it in?
- Do they check the best by date on your bag of coffee beans?
Some grocery stores also sell coffee beans in bulk and provide a grinder on site that customers can use when they buy them. So if you have a store near you that you can rely on, you may not even need to own a coffee grinder.
While it is probably a rare occurrence for true coffee lovers to end up without a grinder, it’s best to keep the emergency plan in the back of your mind. Knowing how to grind coffee beans without a grinder can inspire your confidence that you can build up through any challenges thrown at you.
You may not always be able to reliably get your preferred coffee consistency using these unconventional methods to grind coffee beans. For this reason, it’s also good to know about different ways to brew coffee that require varying consistencies of grind. For example, while the fine espresso grind would be tricky to achieve with most alternative grinding methods, a medium-fine grind would work for a Moka Pot that can still produce strong coffee.
These creative ways to grind your coffee beans are probably not what you would want to do for the best results daily. However, using non-mechanical grinding techniques can bring you closer to your coffee, providing a unique experience.
