An AeroPress coffee maker is a clever and simple way to brew a single cup of coffee at home, in the office, or on a trip. However, the rubber gasket at the bottom of the plunger is key to making the process happen. If you discovered that you have an AeroPress not sealing, fixing the leak is an urgent priority!
Reasons your AeroPress is not sealing
An AeroPress may seem easier to operate than other ways to make espresso-like coffee. It’s primarily used to brew a single serving of coffee.
You fill the chamber with water and coffee grounds and then press the polypropylene plunger down to push coffee through the filter. The rubber seal, or gasket, at the tip of the plunger keeps coffee moving down into your mug where it belongs.
However, the plunger seal on an AeroPress can degrade over time due to regular use. You may have noticed that your AeroPress coffee tastes watery, and a worn-out rubber gasket could cause that.
One cause of AeroPress rubber plunger seal failure is contact with coffee oils. Unfortunately, you can not eliminate this problem as long as you use your AeroPress to brew coffee, so knowing how to do basic maintenance on the seal is your best alternative to buying a new one now and then.
However, other annoying problems that can arise during brewing are perhaps more avoidable. For example, while hot water is usually important for brewing coffee, loading boiling water into the AeroPress can damage the plunger seal. In addition, if the plunger is stored inside the brewing chamber in a position that stresses it, that can shorten its lifespan.
Whatever the cause of your rubber seal failure, you’ll have trouble making coffee if you can’t get the plunger to make a tight seal. However, this does not have to be a reason to buy a new coffee maker. While you can replace the seal, there are a few tricks you should try to get more life out of your AeroPress seal first.
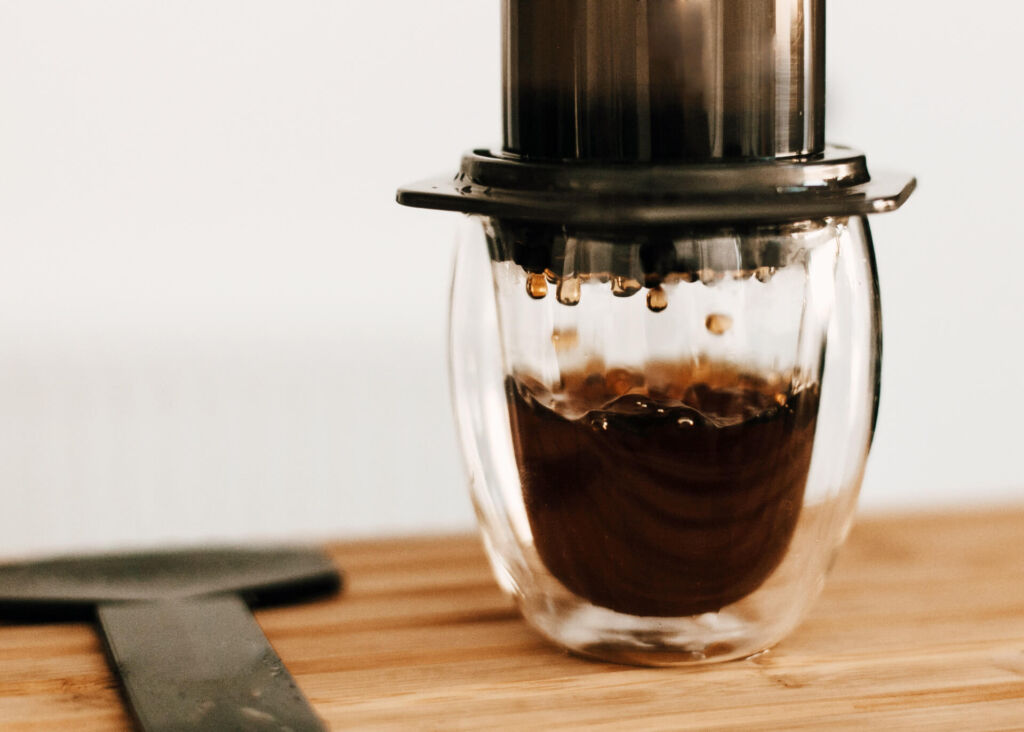
How do you repair an AeroPress seal?
There are a few different ways to address the issue of AeroPress not sealing. Try the easier strategies before you move on to anything more complicated. If all else fails, buying a new plunger or seal is also an option to get more life out of your AeroPress espresso maker.
1. Take off the seal and clean it
Before you try anything more complicated, look for an easy fix. The seal can be easily removed by hand, so take it off and check for any coffee grounds or other debris that might have fallen between the seal and the plunger, interfering with the bond of the gasket.
Wash it with mild soap, dry it off, and press it back in place. If the seal had merely slipped into the wrong spot at some point, this move should correct it.
Check if this worked, and then proceed to the other tips if you still have trouble.
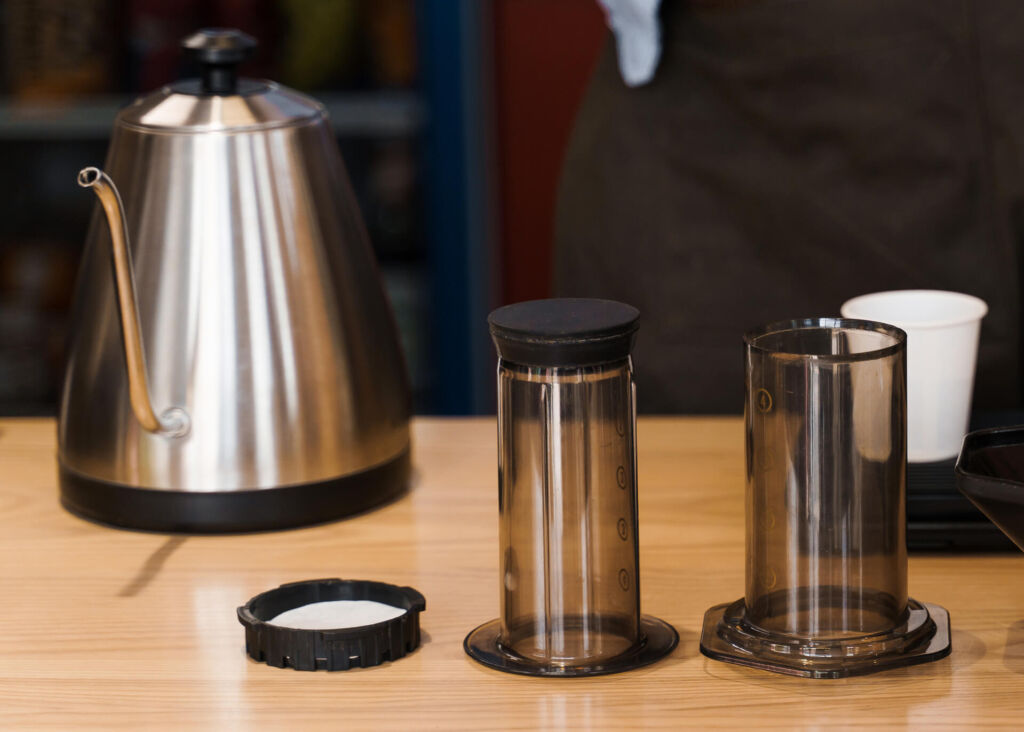
2. Use mineral oil
Food-grade mineral oil is used in making the seals for AeroPress plungers. However, regular content with coffee oils while brewing coffee tends to leach out the mineral oil that is supposed to stay in the rubber seal.
Getting mineral oil back into the rubber seal is a simple way to improve the performance and extend the seal’s life. Although this is the most time-consuming method of addressing a faulty plunger seal, it’s the most likely to improve the performance of your AeroPress going forward.
Make sure you select food-grade mineral oil when you buy it at the store. For best results, you’ll ultimately need to heat the mineral oil in a microwave. The details of how you’ll get the oil into the rubber plunger seal are as follows:
- Remove the plunger seal, and wash it with dish soap under the running tap.
- Let the seal soak in mineral oil in a small, microwave-safe bowl for several hours.
- Cover the bowl, and microwave it with the seal still in the mineral oil for 20 seconds. Stop the microwave, and then heat it in additional 20-second bursts four or five more times.
- When the bowl has cooled, remove the seal, and rinse off excess mineral oil.
- Put the seal back onto the plunger, applying pressure as you gently twist it into place.
3. Use hot water
If you don’t have mineral oil handy, you may be able to get the seal to expand simply by using hot water.
The problem is that the seal tends to get compressed over time, especially if you leave the plunger stored in the brewing chamber. In addition, the pressure between the seal and the brewing chamber weighs on the seal, ultimately making it too small to adhere to the tube properly.
Soaking the seal in a bowl of hot water before preparing coffee can expand the material, helping the edges reach a tight seal. AeroPress support further advises that if you use this method, you should press the seal on a flat surface like a cutting board and push the edges out as much as possible before putting it back onto the AeroPress plunger.

4. Replace the seal
AeroPress sells replacement parts for its coffee makers, so you may want to buy a new plunger seal if the other fixes are not working.
If you search online for third-party AeroPress parts, you might find a less expensive option than buying directly from the manufacturer. However, AeroPress will not be able to help you if anything goes wrong. Meanwhile, AeroPress provides a one-year warranty on its products, so you should contact their warranty services department if your original seal is still under warranty.
Once you’ve purchased a new seal, you twist the old seal off the plunger. Then, you put the new one on the plunger head, pressing down and twisting with your fingers until it sits in place.
In 2018, AeroPress upgraded the material it uses for the seals from a thermoplastic elastomer to silicone. If your rubber seal is older than that, you are probably due to replacing it anyway, so you might see if a new silicone seal improves your AeroPress coffee experience.
5. Replace the plunger
When you buy replacement parts from AeroPress, you can decide whether to buy a new plunger — the whole polypropylene tube — or just a new seal. A new plunger includes a new seal, so replacing the plunger is a good option if you are aware of any cracks in the plastic or other noticeable wear and tear on your old plunger.
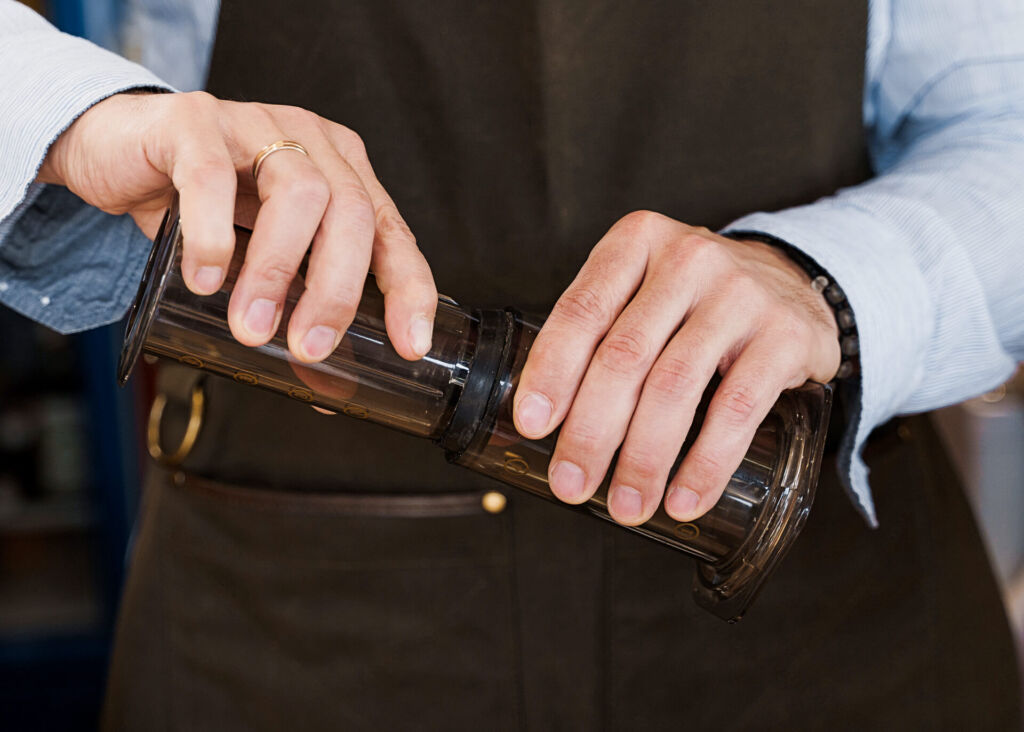
How to prevent AeroPress leaks
While the tips above will help you if your AeroPress has already started leaking, there are precautions you can take to prevent it from malfunctioning. Of course, the best fix is the one you don’t have to make because you used your AeroPress correctly the first time! Knowing how to use your coffee maker correctly will help you enjoy the coffee you love for as long as possible.
1. Empty it after use
Contact with the oils in a coffee can cause the AeroPress plunger to lose the mineral oil that’s supposed to be inside it. So while contact with coffee oils is an inevitable part of brewing coffee, you don’t want them to be in contact with the AeroPress plunger for longer than necessary.
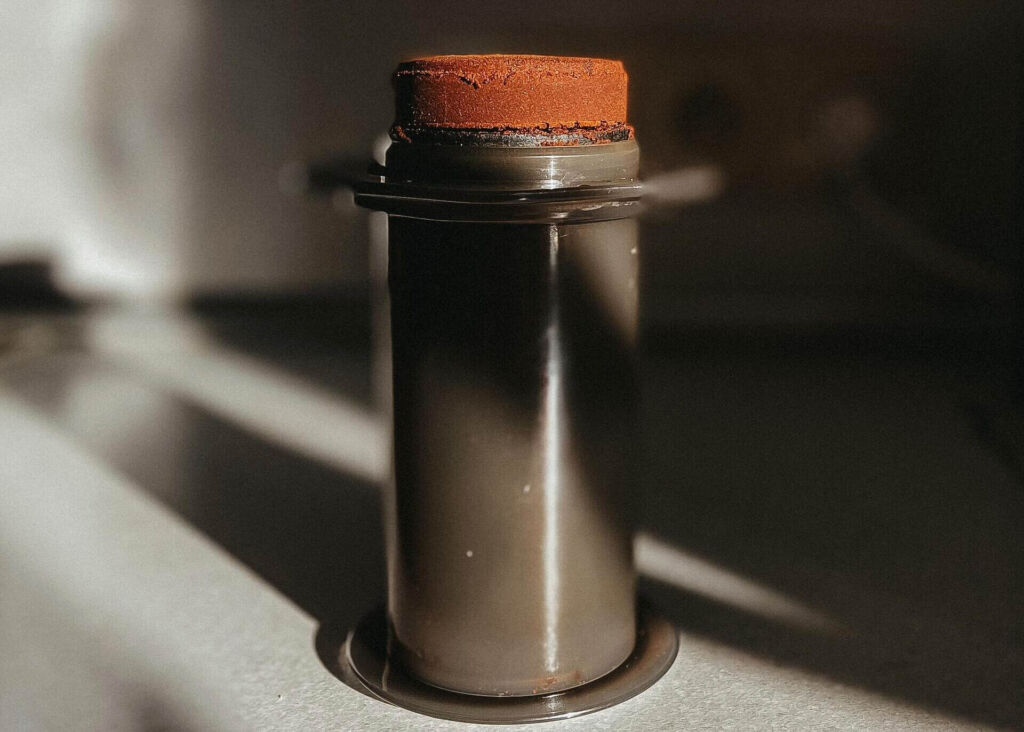
Therefore, when you’re done brewing coffee with your AeroPress, immediately eject the puck of compressed coffee grounds instead of letting them sit inside the chamber. But, again, this is the bare minimum for maintenance.
Sometimes, ejecting the grounds is required, as this method of brewing coffee uses water more efficiently than other methods. However, if you see a lot of coffee grounds stuck to the insides, don’t be afraid to rinse it.
2. Clean and dry it after using
While an AeroPress can go in the dishwasher occasionally, running it through the dishwasher too often can degrade the materials. Instead, you are better off handwashing it with mild soap.
If you have hard water in your area, you also need to be careful to gently dry your AeroPress with a towel after washing or rinsing it — you’re likely to wind up with water stains if you let it air dry.
3. Store it properly
Storing the AeroPress in a position that puts stress on the rubber gasket can shorten the lifespan of the seal. You’re better off keeping the two chambers of the AeroPress separate from each other.
If you need to store them together for space reasons, you should depress the plunger so it’s not straining to stay in place.
4. Watch your water temperature
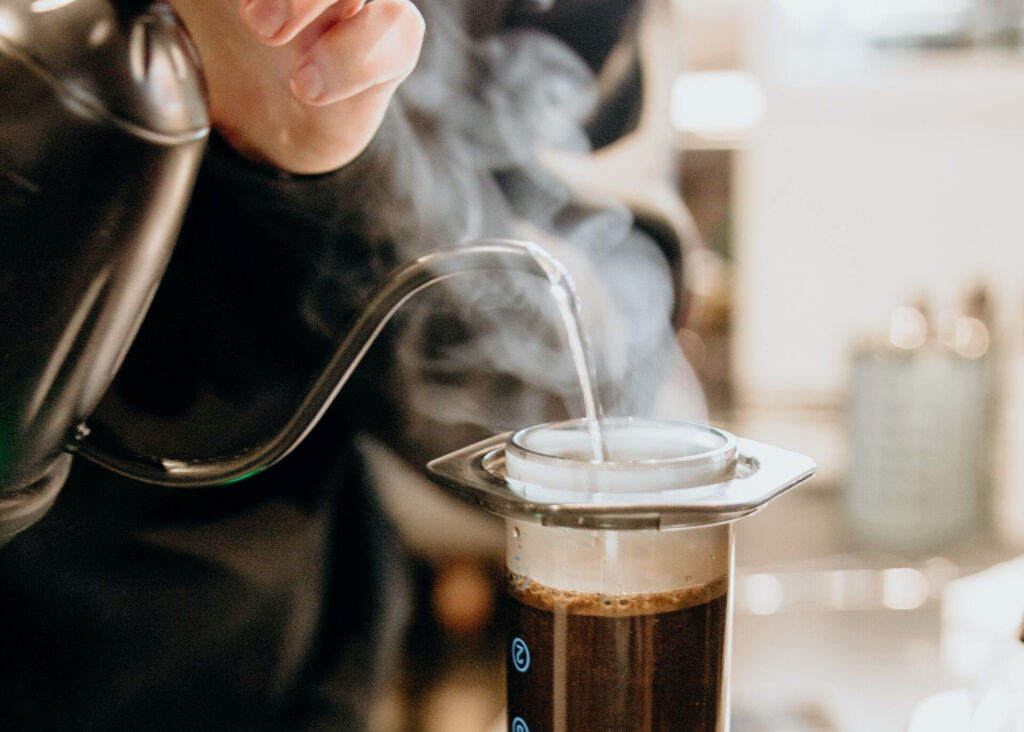
Brewing coffee with boiling water will likely damage your AeroPress plunger’s rubber seal over time. AeroPress recommends using water heated to 175 °F (80 °C) for best results. If you’re heating the water in a kettle on the stove, stop before it starts boiling.
When should you replace your AeroPress?
Buying a new unit can seem a bit wasteful when you know a few essential tips for maintaining your AeroPress. However, sometimes replacing your AeroPress might be your best option, regardless of how clever or determined you are. Here’s how to know when you’re ready to make that change.
Although buying a new seal or plunger can extend the life of your AeroPress, keep track of how much you would need to spend on replacement parts to get your AeroPress working properly. If you’re likely to spend at least what it would cost to buy a new AeroPress on replacement parts, you’re probably better off buying a new AeroPress.
Keep in mind that your time is a valuable resource too. If you spend a lot of time repeatedly applying the same fix with limited benefit, you probably should buy at least a replacement part, if not a new coffee maker.
If you are frustrated with the ongoing problem to the point you don’t enjoy preparing your daily coffee, that should answer any question as to whether it’s time to move on. You want coffee to help you get your work done, not create more work for you.
While an AeroPress coffee maker does not reach the 9 bars of pressure necessary to make a proper espresso shot, the result is close enough that many people think of this small and easy-to-use gadget as an espresso maker. Fortunately, it’s also a simple enough device that its common problems, including failure of the plunger seal, can be repaired easily. Following these tips should leave you equipped to repair or replace an Aeropress rubber plunger seal.
Curious about other coffee brewing methods? Check out the comparison of AeroPress to Moka Pot and Chemex to see how they differ and what type of coffee they produce!
